 St. Petersburg Window
 St. Pete Beach Puts Siding Through More Than Most Florida Neighborhoods
St. Pete Beach sits on a barrier island, which means every wall in the neighborhood is closer to open Gulf water and salt spray than almost anywhere else in Pinellas County. That proximity changes how siding fails. Homes a few miles inland on the mainland deal with heat and humidity; homes here deal with that plus constant salt-laden air, direct onshore wind, and the kind of wind-driven rain that finds every unsealed seam and loose panel edge. We work on both sides of the bay, and the difference in how siding ages on the island versus the mainland is obvious the moment you start pulling off damaged boards.
Add in the intense, nearly year-round UV exposure and you get a combination that punishes cheap materials and sloppy installation fast. A repair that would hold up fine in a shaded inland yard can fail within a season on an exposed St. Pete Beach elevation. That's the context every repair on this island needs to be evaluated against — not just "what's damaged" but "why did it fail here, and what will keep it from failing again."
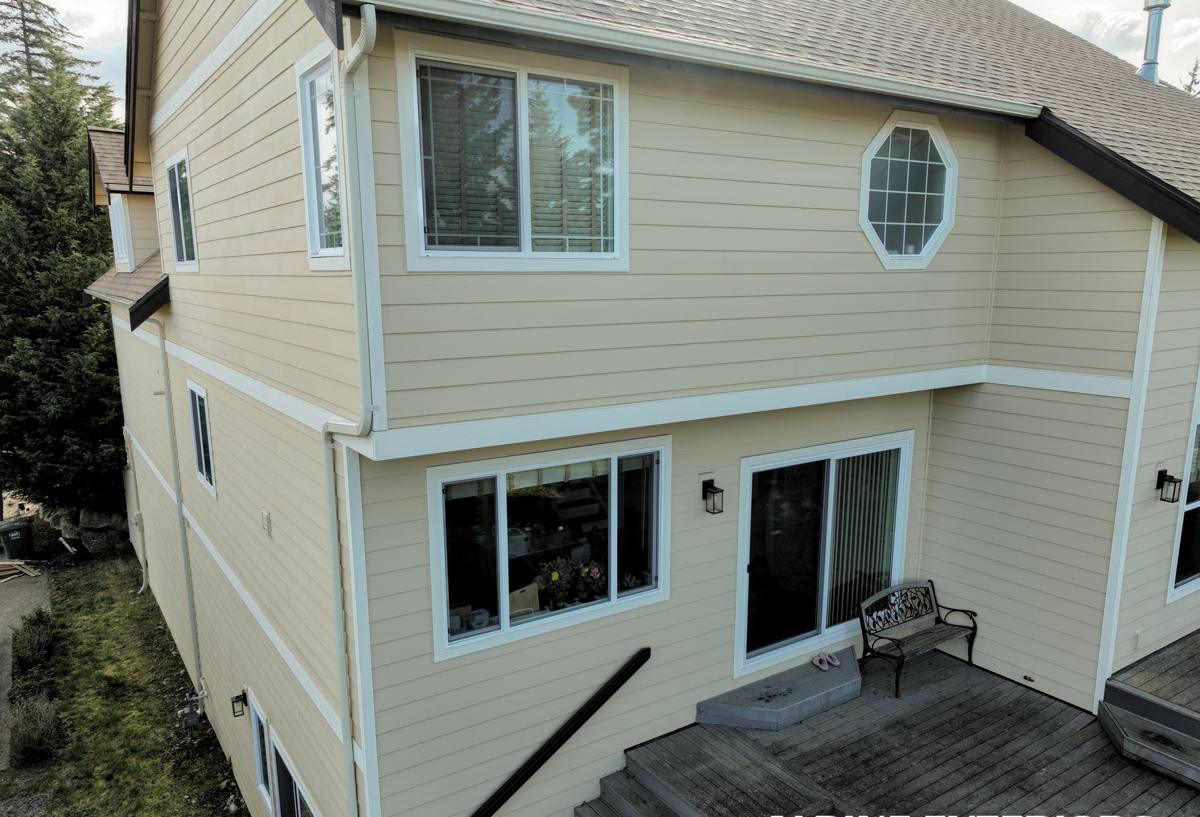
What Actually Damages Siding on St. Pete Beach Homes
Salt Air and Corrosion
Salt doesn't just sit on the surface — it works into fasteners, trim joints, and any place two materials meet. On wood-based or engineered wood sidings, that moisture-salt combination accelerates rot at seams and cut ends. On fastener heads and flashing, it accelerates corrosion, which shows up as rust streaking and eventually loose or failed connections.
Wind-Driven Rain
Regular rain falls straight down. Storm-driven rain on an exposed barrier island gets pushed sideways, sometimes upward under eaves and at butt joints. Siding systems that aren't installed with the right laps, gaps, and flashing details will let that water behind the cladding, where it saturates sheathing and framing long before anyone notices a problem from the outside.
UV Breakdown
Florida sun is intense enough to fade paint, chalk finishes, and dry out caulk and sealants years faster than in milder climates. Once a factory or field finish starts to break down, the substrate underneath is exposed to moisture with nothing left to shed it.
Hurricane-Force Wind Events
Even when a storm doesn't cause obvious catastrophic damage, sustained high wind loosens fasteners, works panels free at the edges, and stresses trim and corner details. That damage is often invisible until the next heavy rain gets behind a panel that's no longer sealed tight.
Signs Your Siding Needs Repair, Not Just a Patch
- Visible cracking, splitting, or buckling in individual boards or panels
- Soft spots you can press in with a thumb — a sign of moisture damage underneath
- Rust streaking below fastener heads or trim joints
- Gaps opening up at butt joints, corners, or where siding meets windows and doors
- Paint or finish that's chalking heavily, peeling, or has gone flat and dull
- Any bubbling, staining, or musty smell on interior walls that back up to exterior siding
- Missing or visibly loose panels after a windstorm
Any one of these on its own might be a small fix. Several showing up together, especially on the Gulf-facing side of a home, usually means the underlying moisture barrier or fastening has been compromised for a while and deserves a closer look before you decide it's "just cosmetic."
What a Correct Repair Actually Involves
A quick patch — caulk over a crack, a single board face-nailed back on, paint over rust stains — covers the symptom without addressing why the damage happened. On a barrier island home, that approach tends to fail again within a year or two because it doesn't touch the moisture path underneath.
A correct repair starts by removing enough surrounding material to actually see what's going on behind the cladding: the house wrap or building paper, the flashing at penetrations and joints, and the sheathing itself. If water has been getting behind the siding, that's where the real problem lives, and it needs to be dried out or replaced before anything new goes back on. Only after that inspection does the actual siding repair happen — matching profile and reveal, re-establishing correct laps and gaps, replacing damaged flashing, and fastening to manufacturer spec rather than just wherever the old holes happen to be.
Skipping that inspection step is the single most common shortcut we see from repairs that didn't hold up. It's faster and cheaper in the moment, and it's exactly why the same spot ends up damaged again after the next big blow off the Gulf.
Repair or Replace? A Cost-Factor Comparison
| Factor | Points Toward Repair | Points Toward Full Replacement |
|---|---|---|
| Extent of damage | Isolated to one or two elevations or sections | Widespread across most of the home's exterior |
| Age of existing siding | Newer material still well within its expected service life | Original siding is decades old or already at end of life |
| Underlying sheathing/framing | Dry, sound wood found during inspection | Rot or moisture damage found behind more than a spot or two |
| Material match | Discontinued or faded product can still be reasonably matched | Old product no longer available or color match impossible |
| Storm exposure history | Damage is from a single recent event | Pattern of repeat damage after multiple storm seasons |
| Upfront cost tolerance | Lower cost now is the priority | Willing to invest once for long-term durability |
Most St. Pete Beach homes we look at land somewhere in the middle — a repair makes sense for now, but the inspection often reveals enough age or exposure elsewhere on the home that a homeowner starts planning for a full re-side within the next few years rather than being surprised by it.
Our Repair Process for St. Pete Beach Homes
- On-site inspection — we look at the visible damage plus the areas around it, and pull back material where needed to check for moisture behind the cladding.
- Honest scope — we tell you plainly whether this is a contained repair or whether it's pointing toward something bigger, and why.
- Moisture and structural correction first — any wet sheathing, failed flashing, or damaged house wrap gets addressed before new siding goes back on.
- Matched material and correct fastening — repairs are installed to the same specifications as new installation, not just tacked back into old nail holes.
- Finish and seal — caulking, paint touch-up, and trim details are finished to blend with the surrounding siding as closely as the existing material allows.
- Walkthrough — we show you what we found and what we did about it before we consider the job finished.
Why We Only Use James Hardie Fiber Cement for Repairs
We don't install or repair with vinyl, LP SmartSide, primed spruce, cedar, or other fiber cement brands. That's a standard we hold company-wide, and it matters even more on a barrier island. James Hardie fiber cement is non-combustible, doesn't swell or rot the way wood-based products can when moisture gets past a seam, and its ColorPlus factory finish is baked on to resist the fading and chalking that intense, sustained Florida UV causes in field-applied paint. When we're repairing a section of Hardie siding, we're working with a material engineered for this exact climate — including HZ product lines built specifically for high-humidity, high-moisture regions — and backed by a strong transferable warranty when installed to spec.
If your home currently has a different siding material, we'll say so plainly and repair it as honestly as we can. But when a repair opens the door to replacing a section or a full elevation, James Hardie is what we recommend and what we install, because it's the product we trust to actually hold up to what St. Pete Beach throws at it year after year.
Timeline, Disruption, and Warranty Expectations
Most contained repairs — a damaged section, a few panels, a corner detail — are a one-to-few-day job depending on how much moisture correction is needed behind the scenes. Larger repairs that involve multiple elevations or significant sheathing replacement take longer, and we'll give you a realistic timeline once the inspection is done rather than a guess up front. Disruption is typically limited to the exterior work area; we protect landscaping and walkways and clean up debris daily.
Workmanship on our repairs is warrantied, and any new James Hardie material installed carries the manufacturer's product warranty. We'll walk through exactly what's covered before work starts so there are no surprises later.
Why Hiring a Crew That Already Works St. Pete Beach Matters
St. Petersburg-area crews that work this island regularly already understand the difference between a mainland repair and a barrier-island one — the added salt exposure, the wind-load realities, and how quickly a shortcut shows up again after the next storm. That familiarity means fewer surprises during inspection, a scope that's realistic from the start, and a repair built to actually hold rather than one that looks fine until the next named storm rolls through. A crew unfamiliar with island conditions may treat this like any other repair and miss exactly the details that matter most here.
After the Repair: A Simple Maintenance Checklist
- Rinse salt residue off exterior walls periodically, especially after dry, windy stretches
- Walk the exterior after any major storm and look for loosened panels, cracked caulk, or new gaps at joints
- Keep gutters and downspouts clear so water isn't dumping directly onto or behind siding sections
- Trim back landscaping that holds moisture against exterior walls
- Re-caulk trim joints and penetrations if you notice cracking before it becomes a leak path
- Have any soft spots or discoloration checked promptly rather than waiting for it to spread
If you're dealing with visible siding damage on a St. Pete Beach home, or you just want an honest read on whether a repair is enough or whether it's time to start planning further ahead, we're happy to take a look. The estimate is free, there's no pressure, and you'll get a straight answer about what your home actually needs.